
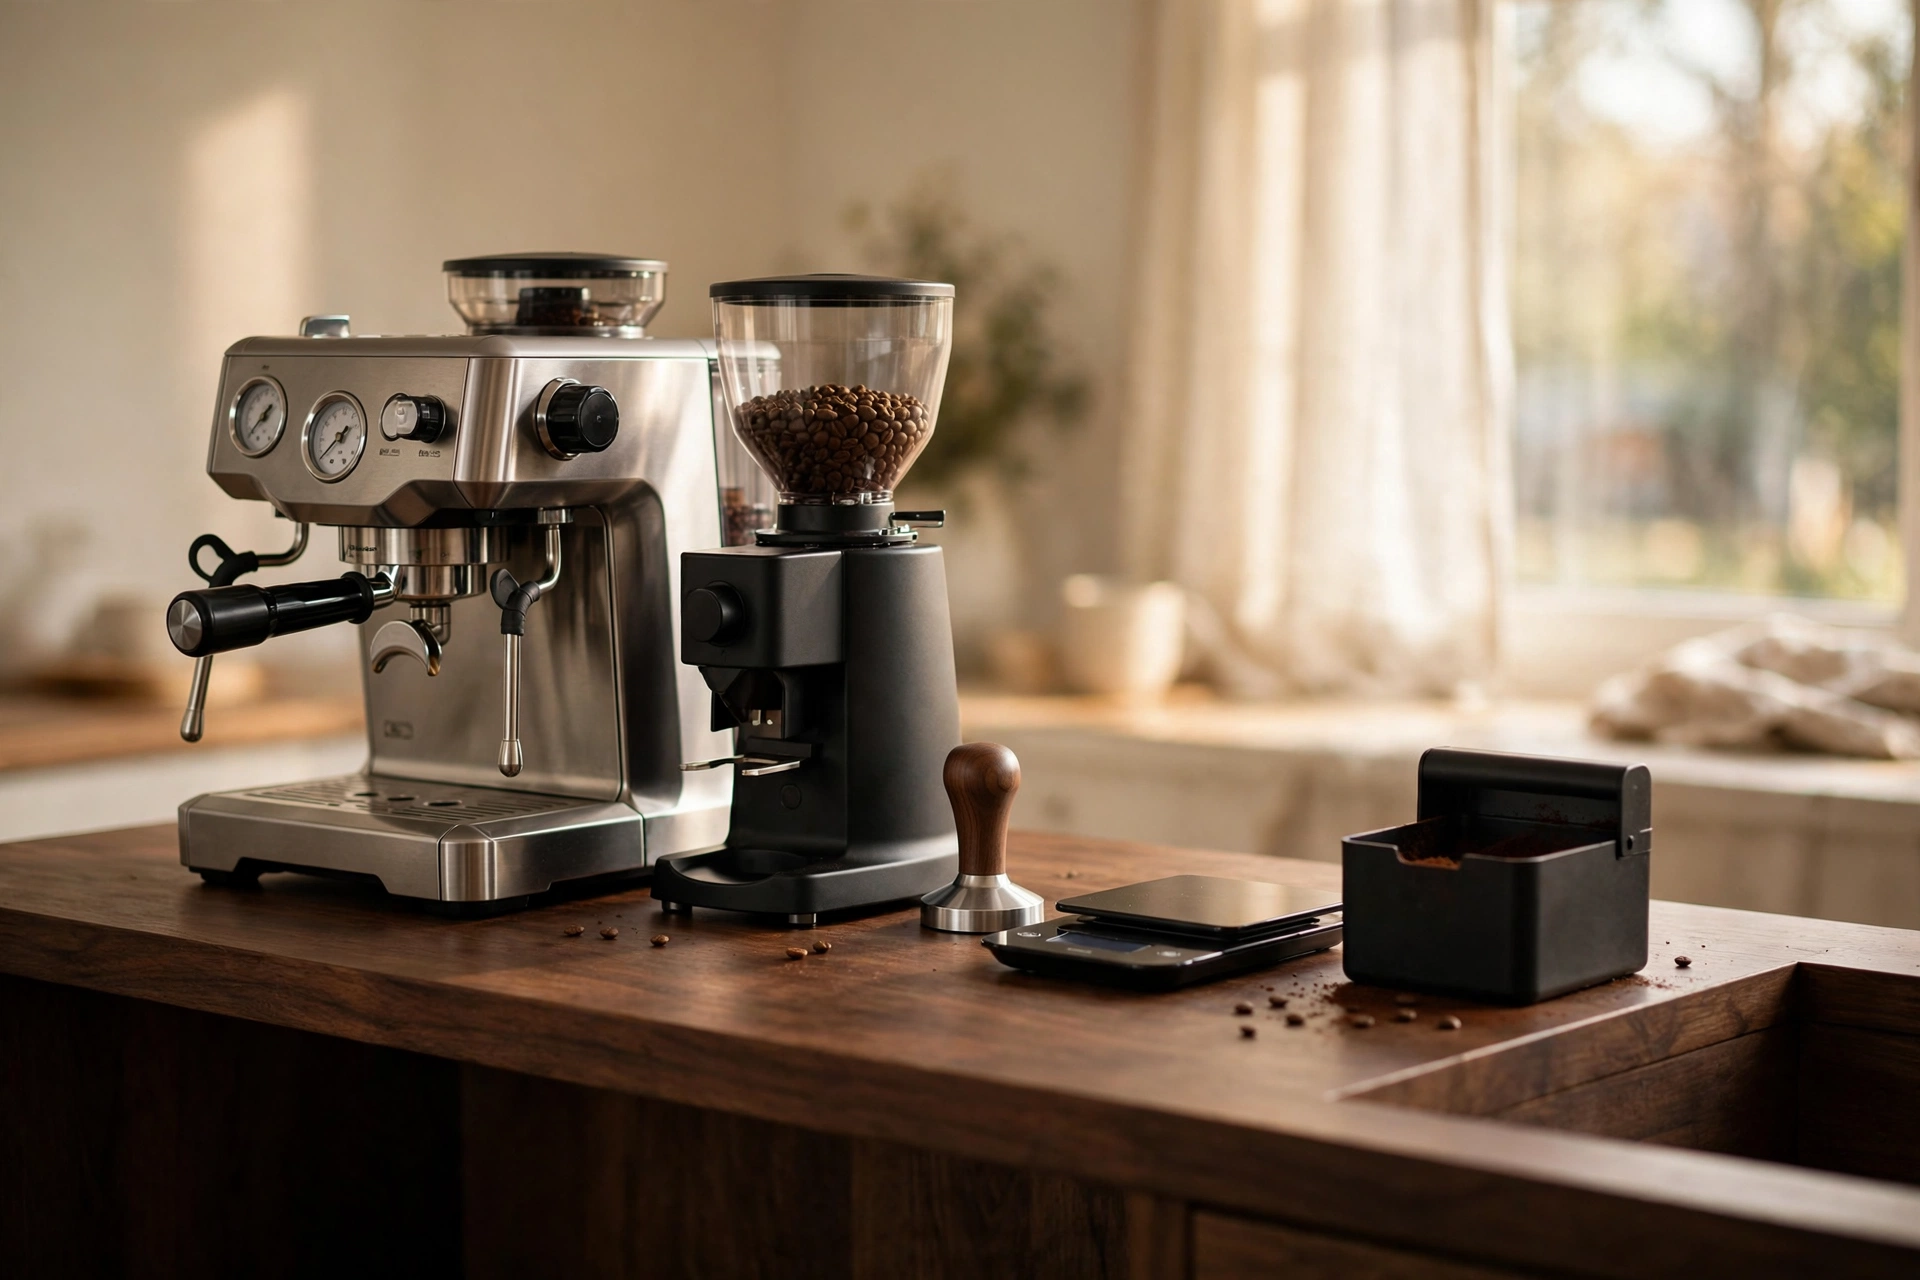
The short answer: about 24 inches (60 cm) of counter width and 20 inches of depth will fit a real setup — machine, grinder, and working room. A machine alone takes 8–12 inches of width, which is why spec sheets make espresso look small. But nobody uses a machine alone. An espresso setup is a physical workflow with four zones: the machine, the grinder, the tamping zone, and the milk-pouring zone. The counter space you need is the sum of the workflow, not the footprint of one box.
Why the workflow, not the machine, sets the size
Think through what your hands do every morning. You grind into the portafilter at the grinder, walk the portafilter to the tamping zone, distribute and tamp with real downward force, lock the portafilter into the machine (swinging it in an arc), start the shot, then steam milk with a pitcher. That’s a sequence of stations, and each one needs elbow room.
The portafilter arc is the hidden dimension. Locking a portafilter into a group head isn’t a straight push — it’s an insert-and-twist motion that sweeps several inches of space in front of and beside the machine. If you put the grinder directly against the machine’s left side, you’ll bang the portafilter into it every morning. Leave a gap.
Tamping needs a stable, flat landing zone. You press down with meaningful force (roughly 30 pounds / 15 kg). The tamper mat and portafilter need a solid, flat patch of counter beside the machine — not the edge of a crowded counter where things tip over.
Steam wand reach matters. The wand hangs off the machine’s side and swings outward. If a wall or the grinder blocks its arc, you can’t angle a pitcher under it properly. Give the steam side 4–6 inches of lateral room.
Once you see the setup as a station layout rather than a single appliance, 24 inches of width stops looking generous and starts looking like the minimum.
The real footprint by machine class
Machine bodies are smaller than people expect, and the numbers below are for the body alone — before working clearance.
| Machine class | Typical width | Typical depth | Notes |
|---|---|---|---|
| Pod / capsule machines | 5–8 in (13–20 cm) | 12–15 in (30–38 cm) | Compact bodies; no grinder or tamping needed |
| Entry single-boiler / thermoblock | 6–9 in (15–23 cm) | 14–17 in (35–43 cm) | The classic beginner size; grinder goes beside it |
| Prosumer dual-boiler | 9–12 in (23–30 cm) | 17–21 in (43–53 cm) | Tanks and boilers add depth; check before buying |
| Built-in / large lever machines | 12–16 in (30–40 cm) | 18–24 in (45–60 cm) | Lever arcs and cups add effective footprint |
Notice the pattern: depth grows faster than width as machines get serious. A dual-boiler machine at 12 inches wide fits most counters sideways, but its 20-inch depth plus a rear-fill water tank can swallow a whole shallow counter. On counters under 20 inches deep, depth — not width — is what rules machines out.
The clearance people forget
Vertical clearance (18–22 inches minimum). Two things live above the machine: your hands, and the water tank. If the tank fills from the top, you need room to lift it out — measure the machine’s height, add the tank’s height, and compare against the cabinet above. Also, most machines have a cup-warming tray on top; it’s useless if a cabinet sits directly on the machine. And leave an inch or two of air above the vents, since espresso machines dump heat upward.
Rear clearance (3–4 inches). Espresso machines get hot at the back and need airflow. More importantly, the power cord exits the rear and bends down — a machine pushed flush against the wall forces the cord into a sharp kink and stresses the connection. Four inches of breathing room also makes cleaning behind the machine possible.
Side clearance (2–3 inches). For side-access water tanks this is non-negotiable — you literally can’t remove the tank without it. Even for top-fill machines, a couple of inches on the steam-wand side makes pitchers and cleaning practical. The other side can be tighter if nothing opens there, but zero is a mistake on any machine with a swinging steam wand.
Front pull-out zone. Drip trays pull out forward for emptying, and you’ll slide cups and pitchers around the front. Don’t treat the counter edge as dead space — the working zone extends 3–4 inches in front of the machine.
Laying out the station: a workable 24 inches
Here’s a layout that works for a typical entry setup on a 24-inch stretch of counter:
- Left third (≈8 in): the grinder, pushed toward the back so its chute clears the machine.
- Middle (≈10 in): the espresso machine.
- Right (≈6 in): the tamping zone — tamper mat, scale, WDT tool — plus milk-pitching room in front.
This puts the portafilter traveling a short, clear path: grinder → tamping mat → group head, with no collisions. If you’re left-handed, mirror it: grinder on the right, tamping on the left. The principle is the same — grind → tamp → brew should be a short straight line with the machine in the middle.
What goes behind the machine? Nothing. Resist the urge to use the rear clearance for jars of beans or a backsplash shelf — you’ll block ventilation and lose access for wiping down.
Power and water logistics
One outlet is rarely enough. Machine plus grinder is two plugs, and many people add a kettle or scale charger. Espresso machines draw 1,000–1,500 W while heating — that’s near the limit of one circuit branch, so don’t run a toaster or kettle on the same power strip while the machine is on. A dedicated outlet on the kitchen circuit is ideal; a power strip is fine only if it’s rated and not shared with other heating appliances.
Water filling is a daily ritual. If your machine has a front-fill or removable tank, great — you’ll carry it to the sink anyway, so distance doesn’t matter much. If it has a fixed plumbed tank you fill in place (rare at home), you want a jug nearby. Machines that must pull the tank straight up need that vertical clearance measured exactly. Keep a sink within a few steps regardless: you’ll rinse the drip tray, knock-out box, and pitchers daily.
Sink proximity is an underrated layout factor. Espresso generates constant small water tasks — rinsing the portafilter between shots, dumping the drip tray, washing milk pitchers. A station ten feet from the sink turns every one of these into a dripping trek. If you have a choice, put the espresso zone on the counter section closest to the sink.
Small kitchens: what actually works
If you don’t have 24 free inches, three honest options:
-
The cart. A sturdy rolling cart (≈24 × 18 in) becomes a dedicated espresso island you can tuck away. “Sturdy” is doing real work here — a wobbly cart transmits tamping force badly and feels unsafe with a hot machine. A locking caster cart or a solid sideboard beats a flimsy microwave stand.
-
The vertical stack. Machine on the counter, grinder on a shelf or riser behind or above the machine zone. This works if the grinder is small and the shelf is solid, but don’t put a grinder where its chute hangs over the cup-warming tray — you’ll dose grounds onto a hot surface.
-
The single-piece compromise. An all-in-one machine with a built-in grinder collapses two stations into one, trading some grind quality for half the footprint. Reasonable when space is genuinely limited; less good when you outgrow the built-in grinder (and most people eventually do).
What doesn’t work: squeezing a machine into a corner with 6 inches on each side and calling the front edge your “tamping zone.” You’ll knock things over daily, dread the workflow, and use the machine less — which is the most expensive outcome of all.
The one-line rule
Measure your workflow, not your machine. Machine + grinder + 6 inches of tamping room + 4 inches of steam-wand swing + a few inches of breathing room behind = roughly 24 inches of width and 20 of depth. If your counter can’t give you that, a dedicated cart will, and it’s cheaper than buying a machine you resent using.